Tired of clutter taking over your living space? You’re not alone. Most homeowners struggle with finding enough storage for their belongings.
The good news is that you don’t need expensive furniture or fancy organizers to solve this problem.
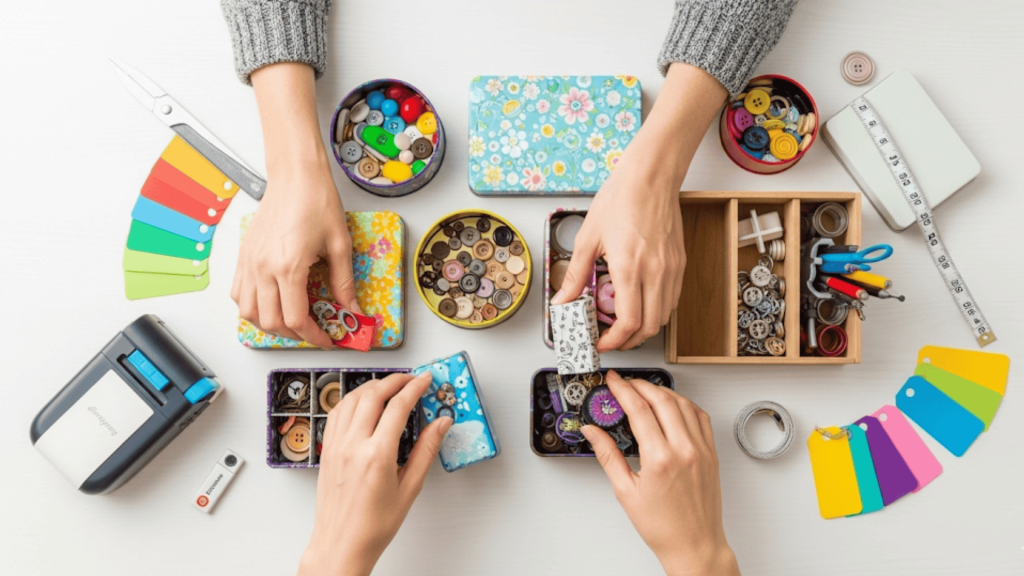
DIY storage box ideas offer a budget-friendly way to create custom storage solutions. These projects use materials you likely have at home or can find at any craft store.
From repurposing old shoeboxes to building wooden crates, the possibilities are endless.
In this blog, I’ll share practical DIY storage box ideas that anyone can create, along with simple techniques and creative materials for organizing every room.
What Makes DIY Storage Boxes Special?
DIY storage boxes stand out from store-bought options for several reasons. First, you control the size and design to fit your exact needs.
Second, you save money by using affordable materials. Third, you can customize the look to perfectly match your home decor.
Key benefits include:
- Cost-effective – Use recycled materials or basic supplies
- Perfect fit – Make boxes to fit specific spaces
- Personal style – Choose colors, patterns, and finishes you love
- Quality control – Build them as sturdy as you want
Many people think DIY projects require special skills. That’s not true. Most storage box projects require only basic tools, such as scissors, glue, and paint.
15 Creative DIY Storage Box Ideas
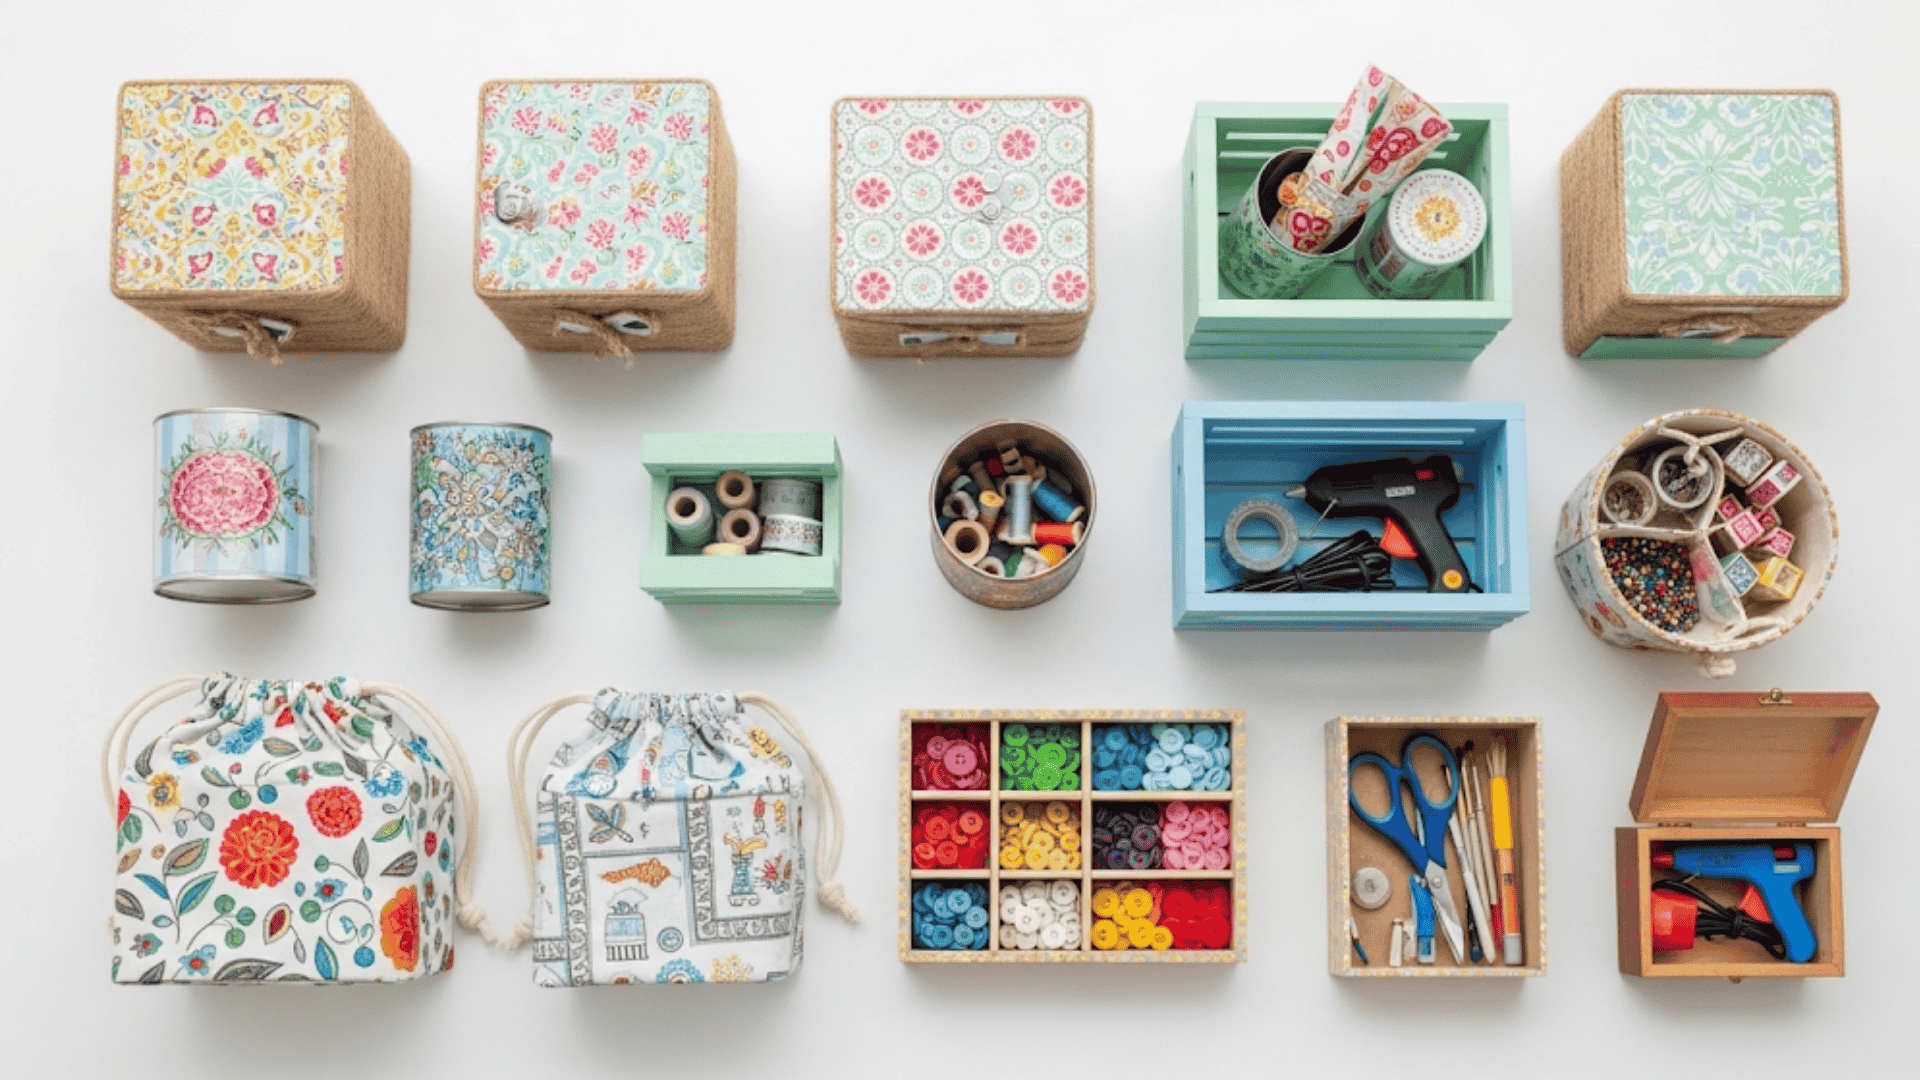
Ready to turn everyday items into smart storage solutions? Here are 15 simple projects that will help you organize every room while staying within budget.
1. Shoebox Makeover
Convert old shoeboxes into stylish storage containers perfect for closets, desks, or shelves.
This beginner-friendly project costs almost nothing and can be completed in under 30 minutes. The result is a custom storage box that perfectly matches your home’s decor.
DIY Steps:
- Clean the box thoroughly
- Measure and cut your covering material
- Apply double-sided tape to the box
- Wrap carefully, smoothing out bubbles
- Add labels if needed
Materials: Shoeboxes, contact paper, double-sided tape, scissors
2. Cereal Box File Organizer
Create desktop organizers from empty cereal boxes for papers, magazines, and office supplies.
This eco-friendly solution keeps your workspace tidy while giving new life to packaging you’d normally throw away. Perfect for home offices or study areas.
DIY Steps:
- Cut the top at a 45-degree angle
- Cover with decorative paper using glue
- Add a label on the front
- Use for papers, magazines, or supplies
Materials: Empty cereal boxes, decorative paper, glue, scissors
3. Tin Can Storage Containers
Large coffee cans make excellent storage for craft supplies, kitchen utensils, or bathroom items.
The metal construction is durable, and the cylindrical shape fits well in tight spaces. Sand rough edges carefully for safety.
DIY Steps:
- Remove labels and clean thoroughly
- Sand any rough edges smooth
- Apply primer, then paint with the desired color
- Let dry completely before use
Materials: Large coffee cans, sandpaper, paint, brushes
4. Fabric-Covered Storage Box
Add softness and color to any room with fabric-wrapped storage boxes. Choose fabric that matches your decor or creates an accent piece.
These work especially well in bedrooms and living areas where hard surfaces might feel too harsh.
DIY Steps:
- Iron fabric to remove wrinkles
- Measure fabric, adding 2 inches on all sides
- Spray adhesive on one box side at a time
- Press fabric firmly, working out air bubbles
- Fold corners neatly and trim excess
Materials: Cardboard box, fabric, spray adhesive, scissors, and iron
5. Wooden Pine Storage Box
Build a sturdy wooden storage box that will last for years. Pine wood is an affordable and easy-to-work-with material, making it ideal for beginners.
These boxes work great for toys, linens, or seasonal decorations.
DIY Steps:
- Cut boards to size (sides and bottom)
- Sand all pieces smooth
- Apply wood glue to the edges
- Screw pieces together
- Sand joints and apply stain
Materials: Pine boards, wood screws, wood glue, sandpaper, stain
6. Rope Basket from Plastic Container
Convert any plastic container into a natural-looking rope basket.
This technique works with containers of any size and creates storage that looks expensive but costs very little. Great for bathrooms, bedrooms, or living areas.
DIY Steps:
- Start gluing the rope at the bottom center
- Spiral rope outward, gluing as you go
- Continue up the sides to the top
- Secure the end with extra glue
Materials: Plastic container, thick rope, hot glue gun
7. Decorative Paper Storage Cubes
Create perfectly sized storage cubes using cardboard and beautiful paper. These modular boxes can be customized to any size to meet your specific needs.
Stack them or use them individually for a clean, organized look.
DIY Steps:
- Cut the cardboard into a cube template
- Score fold lines with a ruler
- Cover with decorative paper
- Fold and tape into a cube shape
Materials: Cardboard, decorative paper, double-sided tape, ruler
8. Mason Jar Storage Organizer
Mount Mason jars under shelves or inside cabinets for storing small items.
This space-saving solution keeps tiny items visible and organized while using vertical space efficiently. Perfect for craft supplies, hardware, or spices.
DIY Steps:
- Mark the jar positions on the board
- Attach hose clamps with screws
- Insert jars into clamps
- Mount the board under shelves or desks
Materials: Mason jars, wooden board, hose clamps, screws
9. Plastic Bottle Storage Bins
Large plastic bottles make surprisingly good storage containers for organizing a garage, basement, or utility room.
Cut them to the perfect height for your needs and customize with paint. Great for storing tools, garden supplies, or cleaning products.
DIY Steps:
- Cut bottles to the desired height
- Sand cut edges smooth
- Clean thoroughly with soap
- Paint with plastic-safe paint
Materials: Large plastic bottles, scissors, sandpaper, paint
10. Cardboard Drawer Dividers
Keep drawers organized with custom-fit cardboard dividers. This simple solution costs almost nothing and can be adjusted to fit any drawer size.
Perfect for organizing socks, underwear, office supplies, or kitchen utensils.
DIY Steps:
- Measure drawer dimensions
- Cut cardboard strips to fit
- Create notches for interlocking
- Assemble dividers in the drawer
Materials: Cardboard sheets, ruler, craft knife, tape
11. Wine Box Storage Crates
Wooden wine boxes make beautiful rustic storage containers with built-in handles.
Their sturdy construction handles heavy items well, and the vintage look adds character to any room. Perfect for books, magazines, or decorative items.
DIY Steps:
- Remove any labels or residue
- Sand the entire box smooth
- Apply wood stain evenly
- Attach handles to both sides
Materials: Wooden wine boxes, sandpaper, wood stain, handles
12. Egg Carton Drawer Organizers
Repurpose cardboard egg cartons into perfect organizers for small drawer items.
The individual compartments keep jewelry, buttons, or office supplies separated and easy to find. This free solution works better than expensive drawer organizers.
DIY Steps:
- Cut egg cartons to fit drawer sections
- Cover with decorative paper using glue
- Let dry completely
- Place in drawers for small items
Materials: Cardboard egg cartons, scissors, decorative paper, glue
13. Milk Jug Storage Containers
Large milk jugs become excellent storage containers for garage or basement organization.
The handle makes them easy to carry, and the wide opening allows easy access to contents. Perfect for storing seasonal decorations or sports equipment.
DIY Steps:
- Cut an opening in the front of the jug
- Sand all cut edges smooth
- Clean thoroughly inside and out
- Decorate with markers or paint
Materials: Plastic milk jugs, craft knife, sandpaper, markers
14. Shoe Box Drawer System
Create a modular storage system using multiple shoeboxes that slide like drawers.
This solution works great in closets where you need organized storage but don’t want to install permanent fixtures. Easy to rearrange as your needs change.
DIY Steps:
- Cover each box with contact paper
- Cut handles in the sides
- Add labels to identify contents
- Stack or arrange in closets
Materials: Multiple shoeboxes, contact paper, labels, scissors
15. Wooden Crate from Pallets
Create rustic storage crates using reclaimed pallet wood for a truly authentic, vintage look.
These sturdy crates can handle heavy items and look great in any room. Pallet wood is often free from local businesses.
DIY Steps:
- Disassemble the pallet carefully
- Cut wood to the desired crate size
- Sand all pieces smooth
- Screw pieces together into a crate shape
Materials: Pallet wood, saw, screws, drill, sandpaper
Pro Tips for Maximum Storage Success
Improve your DIY storage boxes with these simple organization strategies, as recommended by professional organizers.
- Label everything clearly – Use readable fonts and consistent formatting
- Group similar items together – Keep like things in the same containers
- Leave breathing room – Don’t overpack boxes to avoid damage
- Use clear containers for frequently accessed items – Save time searching
- Create a numbering system – Track contents with simple inventory lists
- Place heavier items in the bottom boxes – Prevent crushing and make stacking safer
- Choose appropriate sizes – Match box size to intended contents and space
- Keep a donation box handy – Remove items you no longer need regularly
Make Your Storage Boxes Look Store-Bought
Small details make your DIY storage boxes look professional and increase their longevity. Add handles using rope, leather strips, or metal pulls for easy carrying.
Apply protective coatings, such as polyurethane on wood, Scotchgard on fabric, or clear contact paper on cardboard, to extend their life.
Consider metal corner guards for heavy-duty boxes and rubber feet to protect surfaces.
Simple hardware, such as clasps, can secure contents, while decorative elements, like stencils or stamps, add a personal style.
These finishing touches change basic homemade boxes into attractive, functional storage solutions that rival those of expensive, store-bought options.
Final Thoughts
DIY storage box ideas offer endless possibilities for organizing your home, regardless of your budget.
From simple cardboard projects to sturdy wooden boxes, there’s a solution for every skill level. The key is to start with the materials you have and build confidence with each project.
Remember, the best storage system is one you’ll actually use. Select projects that align with your style and address your specific needs. Don’t be afraid to experiment with different materials and techniques.
Your home will feel more organized with custom storage solutions. Plus, you’ll save money while creating something useful with your own hands.
What storage challenges are you facing in your home? Share your favorite DIY storage ideas in the comments below!