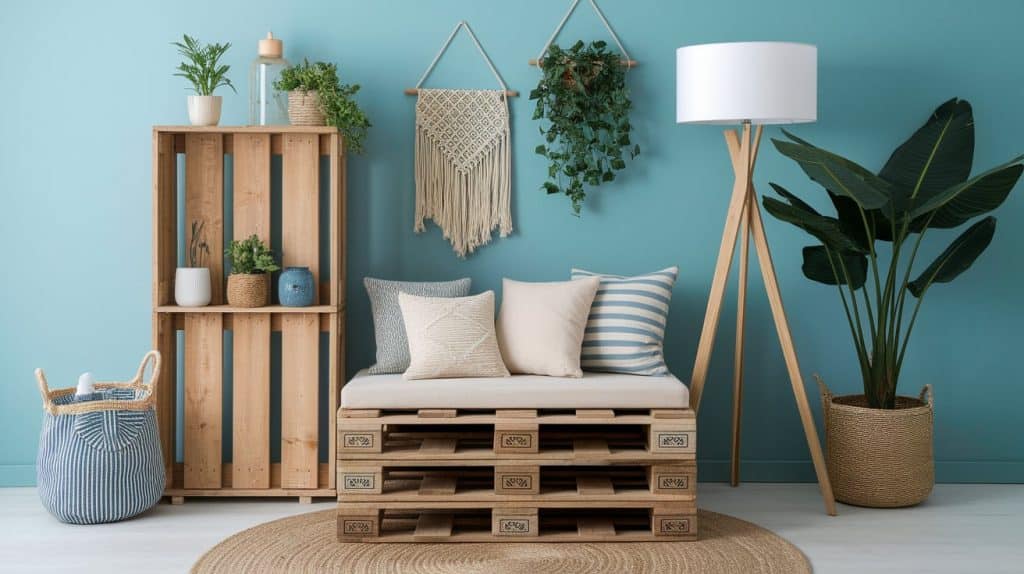
Looking for an affordable way to create custom furniture for your home?
Pallet furniture provides the perfect solution for budget-conscious homeowners seeking unique, functional pieces without breaking the bank.
Wooden pallets, often available for free from local businesses, can be converted into beautiful coffee tables, bookshelves, garden benches, and storage solutions with just a few basic tools and a bit of creativity.
The best part about working with pallets is that you’re giving new life to materials that might otherwise end up in landfills.
In this blog, I’ll show you exactly how to source quality pallets, prepare them safely, and create gorgeous furniture pieces that look expensive.
What Makes Pallets Perfect for DIY Furniture?
Pallet furniture has gained popularity for good reason. Pallets are built to handle heavy loads, making them naturally strong and durable for furniture construction.
The wood is already weathered and aged, giving your finished pieces an instant vintage look that would cost hundreds of dollars to achieve with new materials.
Here’s why pallets work so well for furniture making:
- Cost-effective: Most pallets are free or very cheap
- Pre-sized lumber: No need to cut boards to standard lengths
- Built-in character: Natural wear and weathering add visual appeal
- Sustainable choice: Recycling materials reduces waste
- Beginner-friendly: Simple construction doesn’t require advanced skills
The standard pallet size (48″ x 40″) provides plenty of material for most furniture projects.
A single pallet can often form a complete coffee table, while two or three pallets can be combined to create larger pieces, such as dining tables or bed frames.
How to Source and Select Quality Pallets
Not all pallets are created equal. Some contain chemicals that make them unsafe for indoor furniture, while others may be too damaged or weak for construction use.
Local businesses are your best source for quality pallets:
- Construction sites (ask permission first)
- Garden centers and nurseries
- Furniture and appliance stores
- Grocery stores and supermarkets
- Manufacturing facilities
- Shipping and logistics companies
Call ahead and explain your project. Most businesses are happy to give away pallets instead of paying disposal fees.
Step-by-Step Guide: Building Your First Pallet Table
Here’s a complete guide to creating a simple yet stylish coffee table using DIY pallet furniture techniques.
Essential Tools and Materials
| Basic Hand Tools | Power Tools (Optional) | Materials Needed |
|---|---|---|
| Hammer and nail puller | Circular saw or miter saw | Wood screws (2½” and 1¼”) |
| Screwdrivers (Phillips and flathead) | Power drill with bits | Wood glue for stronger joints |
| Measuring tape and pencil | Orbital sander | Wood stain or paint for finishing |
| Sandpaper (80, 120, 220 grit) | Jigsaw for curved cuts | Polyurethane finish for protection |
| Safety glasses and work gloves | Pocket hole screws for hidden connections |
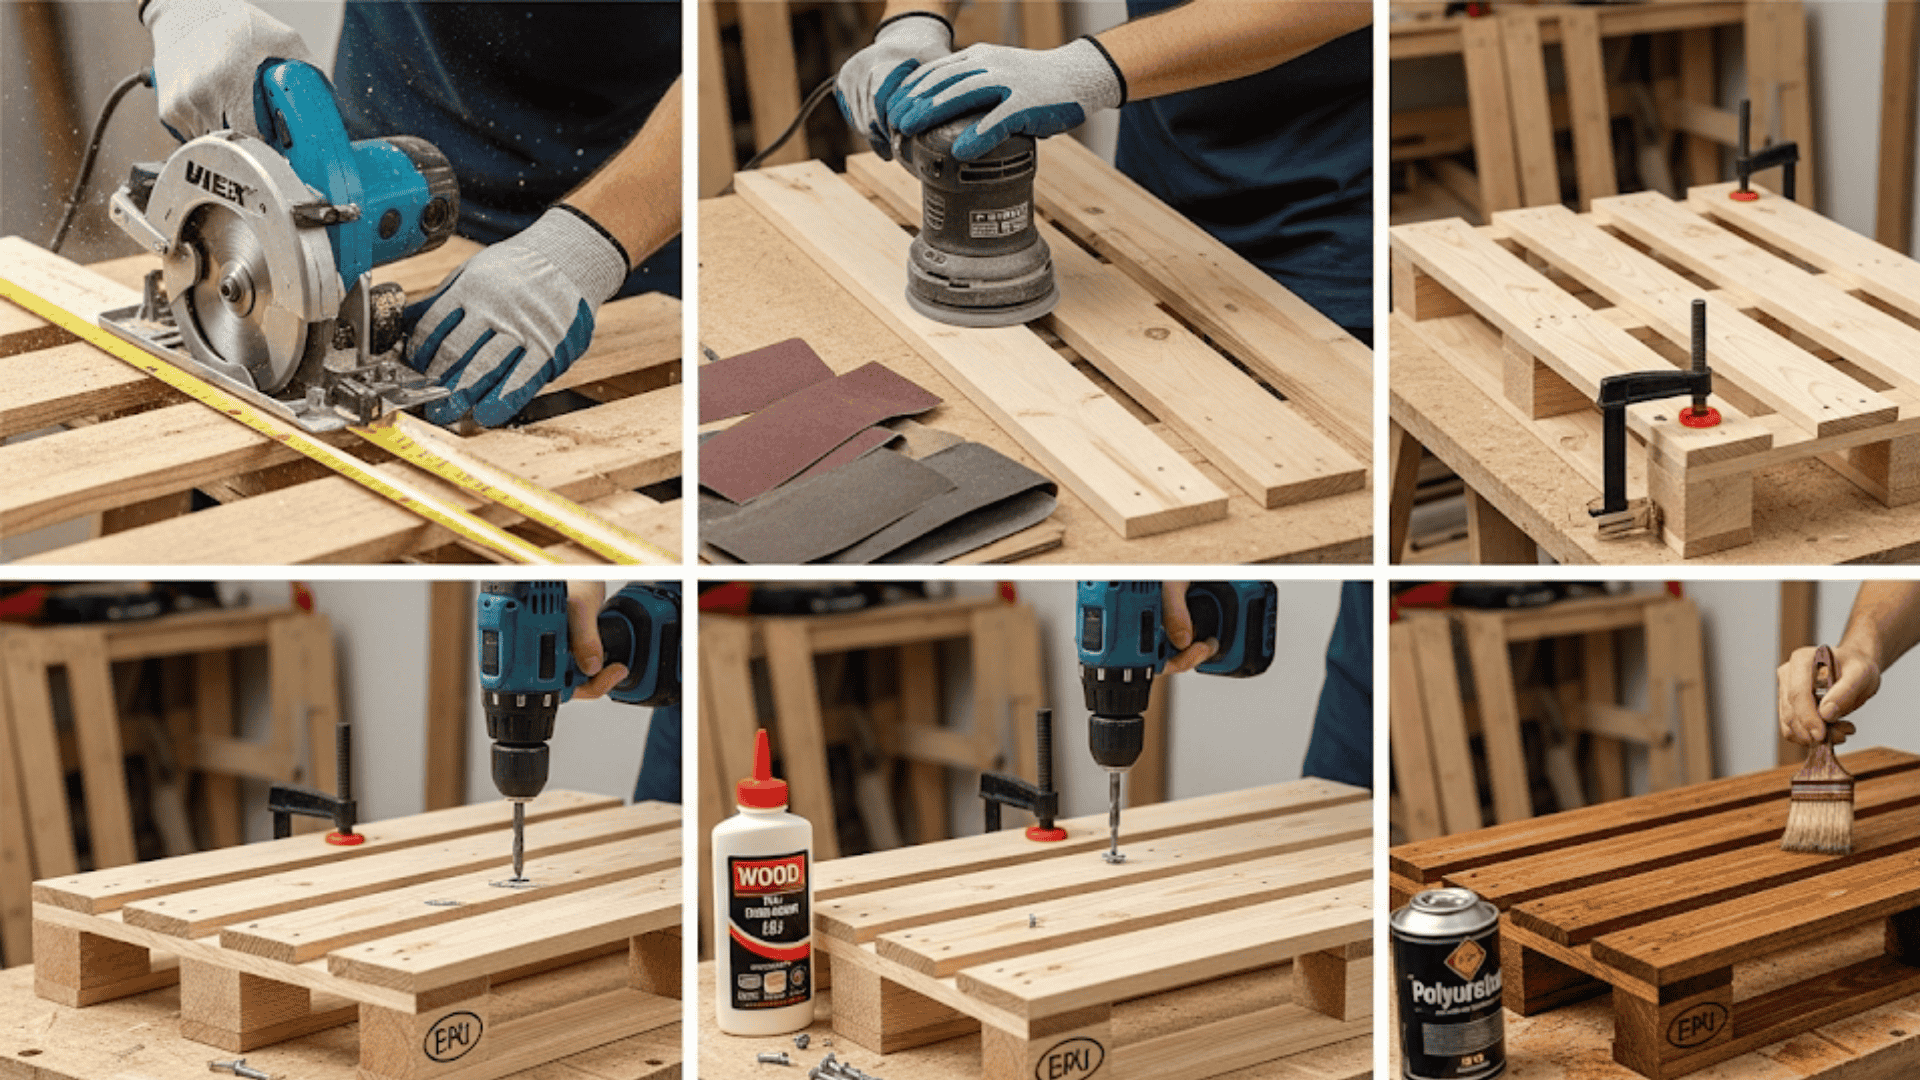
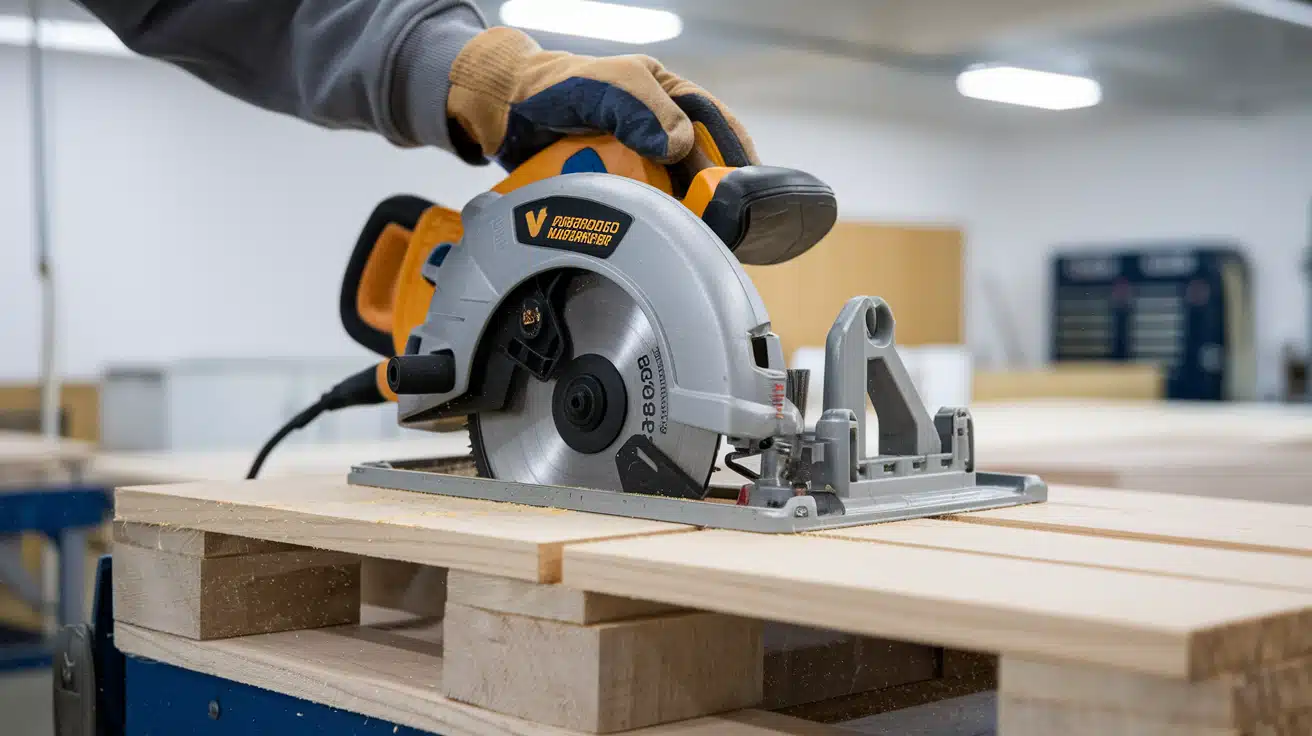
Step 1: Cutting and Trimming Pallets
Start by measuring and marking your pallets for the desired coffee table size. Use a circular saw to cut the pallets to the desired length, removing any damaged sections as needed.
Trim rough edges and cut notches as needed for a proper fit. Remove all protruding nails and metal staples carefully.
Materials Used in This Step:
- 2 HT-marked pallets
- Measuring tape and pencil
- Sandpaper (coarse grit)
Step 2: Shaping and Smoothing Wood
Sand all cut surfaces and edges with progressively finer grits to remove splinters and rough spots. Round over sharp corners for safety and better appearance.
Check each board for defects and sand out minor imperfections. Clean all dust and debris from wood surfaces.
Materials Used in This Step:
- 80-grit sandpaper
- 120-grit sandpaper
- 220-grit sandpaper
- Tack cloth for cleaning
Step 3: Assembly and Positioning
Position the first pallet as your tabletop base and the second as a lower storage shelf. Mark screw hole locations on both pieces for even spacing.
Test fit all components before final assembly to ensure everything aligns properly.
Materials Used in This Step:
- Wood glue
- Clamps for holding pieces
- Pencil for marking locations
Step 4: Joining and Securing Components
Pre-drill pilot holes to prevent wood splitting during assembly. Apply wood glue to joints for extra strength, then secure with wood screws.
Ensure the table is level and make any necessary adjustments. Tighten all connections firmly, but avoid overtightening.
Materials Used in This Step:
- 2½” wood screws (12-15 pieces)
- 1¼” wood screws (8 pieces)
- Wood glue
- Pilot hole bits
Step 5: Final Finishing and Protection
Apply your chosen wood stain evenly with a brush, following the direction of the grain. Allow proper drying time between coats as recommended by the manufacturer.
Apply two thin coats of polyurethane for protection, sanding lightly between coats with fine steel wool.
Materials Used in This Step:
- Wood stain (1 quart)
- Polyurethane finish
- Fine steel wool
- Clean rags for application
Video Tutorial
Special thanks to Creative Pallet Ideas for providing valuable insights in their video, which I referenced while creating this guide.
Techniques That Make Your Furniture Look Professional
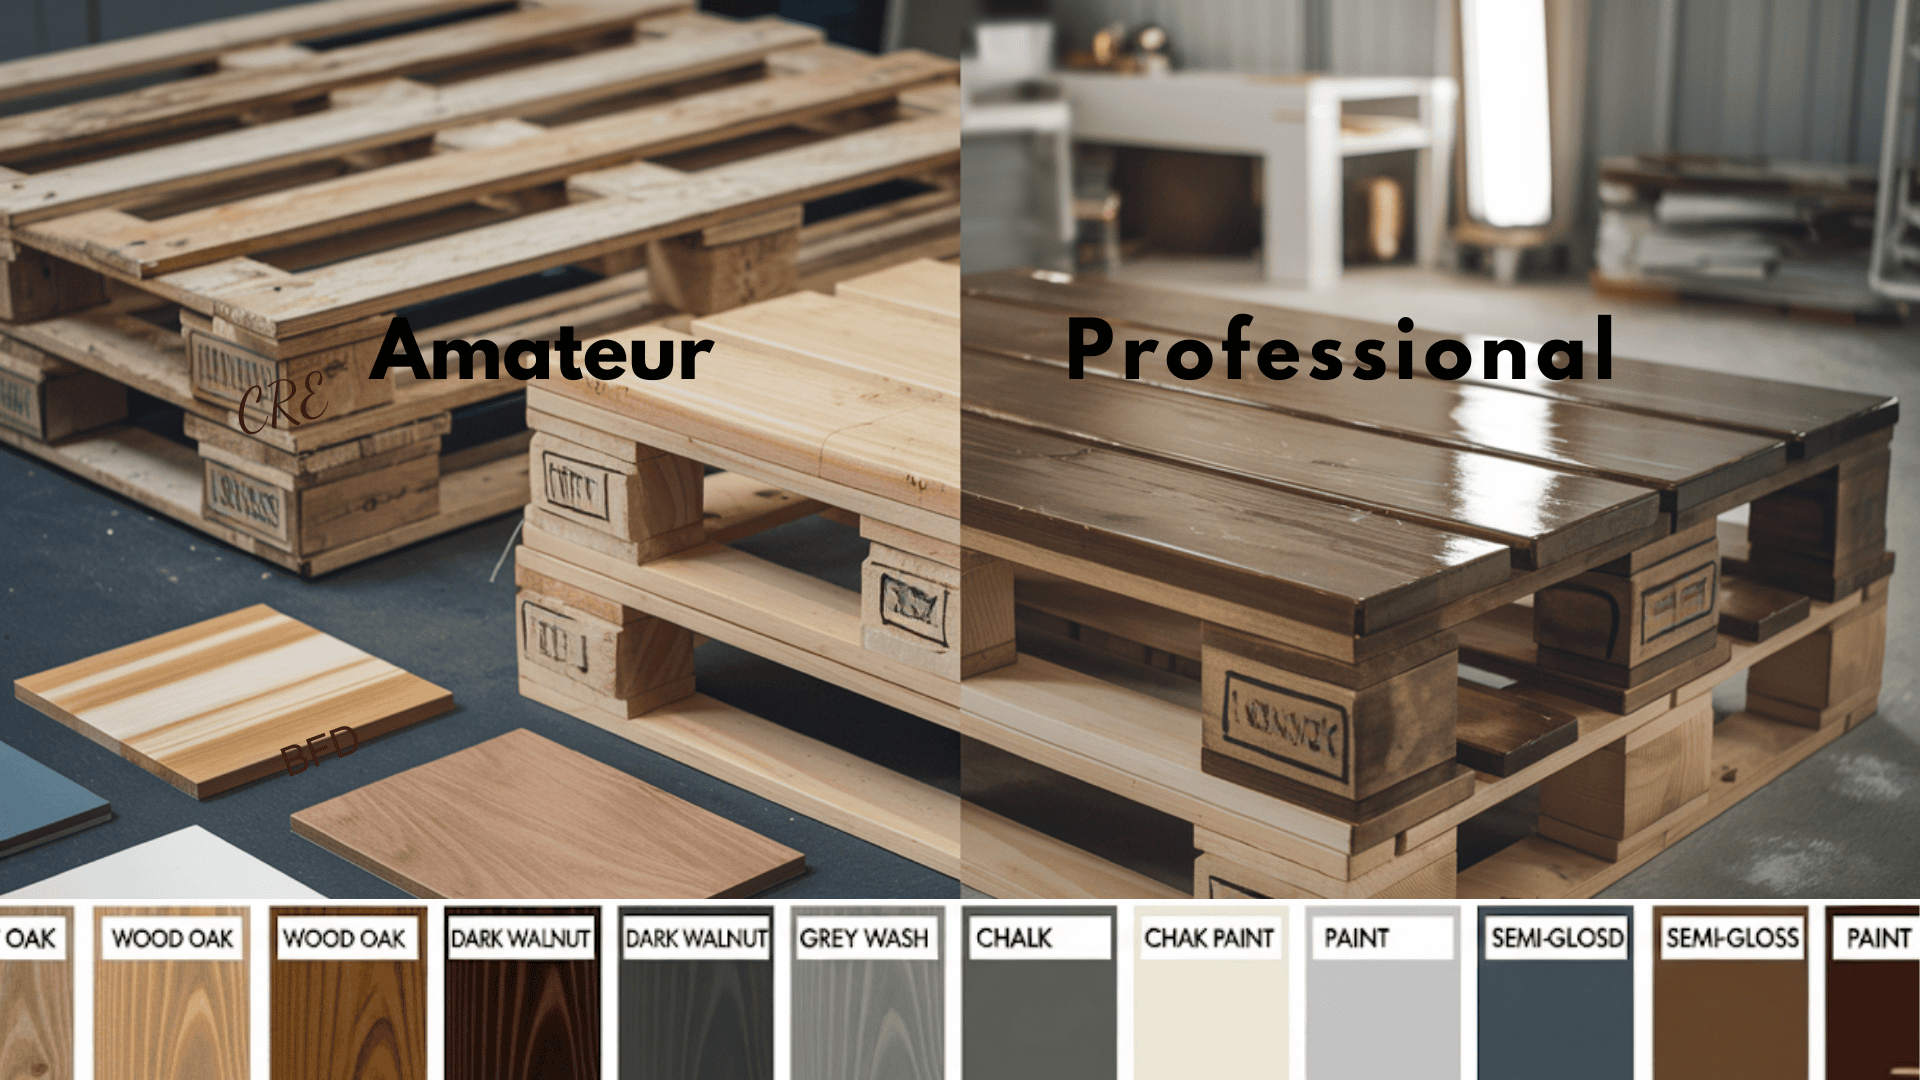
The difference between amateur and professional-looking DIY pallet furniture often comes down to the quality of the finish.
Staining and Painting Options
Natural wood stains bring out the grain while adding color:
- Light oak for a warm, natural look
- Dark walnut for a rich, formal appearance
- Gray wash for modern, contemporary style
Paint finishes offer more color options:
- Chalk paint for a matte, vintage feel
- Semi-gloss for easy cleaning and durability
- Milk paint for an authentic farmhouse look
Protective Coatings
Always seal your furniture with a protective finish:
- Polyurethane: Best for high-use items like tables and benches
- Paste wax: Creates a soft sheen on decorative pieces
- Danish oil: Penetrates wood for natural protection
Apply thin, even coats and sand lightly between applications for the smoothest finish.
Avoid These Pallet Furniture Mistakes
Even with the best intentions, new builders often make costly errors that could easily be prevented.
| Common Beginner Mistakes | Why It’s a Problem |
|---|---|
| Skipping the sanding process | Rough, splintery wood ruins the look and feel of finished furniture. |
| Using damaged pallets | Cracked or weak wood will fail under normal use. |
| Not sealing the finish | Unprotected wood stains easily and wears poorly. |
| Rushing the drying time | Each coat of stain or finish must dry completely before the next one is applied, or the result will be uneven and weak. |
Pallet Furniture Safety Guidelines
Working with reclaimed pallet wood requires extra attention to safety since you’re dealing with used materials.
- Always wear safety glasses when cutting, sanding, or hammering
- Use dust masks when sanding to avoid inhaling particles
- Check for protruding nails before handling any pallet
- Work in well-ventilated areas when using stains or finishes
- Inspect wood for rot or insect damage before using
The Bottom Line
Creating beautiful pallet furniture is one of the most rewarding and budget-friendly ways to furnish your home.
With free or cheap materials, basic tools, and a little patience, you can build custom pieces that reflect your personal style while saving hundreds of dollars compared to store-bought furniture.
The key to success lies in selecting high-quality pallets, preparing them properly, and taking the time to complete each step.
Begin with simple projects, such as coffee tables, to develop your skills, and then progress to more complex pieces.
Remember that every expert started as a beginner, and each project teaches you something new about working with this versatile material.
Are you ready to turn trash into treasure with your first build?