Have you ever walked into a store and fallen in love with a candle’s scent, only to see the price tag?
Making candles at home isn’t just budget-friendly; it’s also fun and allows you to create exactly what you want.
You can choose your favorite scents, colors, and container styles. Plus, homemade candles make perfect gifts for friends and family.
The process is simpler than you might think, and you likely already have some of the necessary supplies at home.
In this blog, I’ll show you everything you need to know about making candles at home.
Why Make Candles at Home?
Making your own candles offers several benefits beyond just saving money. You control every ingredient that goes into your candles, from the type of wax to the fragrance intensity.
This means no mystery chemicals or overpowering scents that give you headaches. Home candle making also allows you to create custom gifts that show genuine thought and care.
Friends and family love receiving something handmade, especially when it smells wonderful and lights up their space.
You can match scents to seasons, create signature blends, or make candles that perfectly fit specific rooms in your home.
Choosing the Right Wax and Fragrance
Now that you know what supplies you need, let’s talk about the two most important decisions: your wax type and fragrance oils. These choices will determine how your candles look, smell, and burn.
Wax Types
- Soy Wax (Best for Beginners) Burns cleanly without harmful chemicals and holds scent well. Water-soluble for easy cleanup and has a high fragrance capacity of 10-12%. Most affordable and forgiving option for new candle makers.
- Paraffin Wax: Less expensive than soy, but produces more soot when burning. Holds colors better and creates harder candles. Not eco-friendly, but it offers a stronger fragrance throw.
- Beeswax is a Natural option that burns longest and cleanest of all waxes. It has a natural honey scent and is more expensive. Chemical-free, but more challenging to work with for beginners.
Fragrance Oil Guidelines
- Flash Points: Choose oils with flash points above 180°F for stability during burning. Lower flash point oils evaporate quickly and need different handling. Higher flash point oils bond better with soy wax.
- Usage Amounts: Start with 6% fragrance load (1 ounce per pound of wax). Too much fragrance prevents proper burning and weakens scent throw. Too little creates a barely noticeable scent when lit.
- Quality Matters: Use only fragrance oils made specifically for candle making. Avoid oils with alcohol or dipropylene glycol as they’re flammable. Check reviews for actual performance in soy wax.
Step-by-Step Guide to Making Your First Candle
Now that you have everything ready, let’s walk through the simple steps to make your very first candle.
What You Need to Get Started
| Essential Supplies | Purpose |
|---|---|
| Soy wax flakes (Golden Brands 464) | Main candle material – burns cleanly |
| Cotton or wood wicks | Creates the flame – sized for the container |
| Heat-resistant containers | Holds finished candle – glass/ceramic/metal only |
| Fragrance oils (candle-making specific) | Adds scent – avoid alcohol-based oils |
| Essential Tools | Purpose |
|---|---|
| Digital thermometer | Monitor wax temperature accurately |
| Digital scale | Measure wax and fragrance by weight |
| Double-boiler setup | Melt wax safely without overheating |
| Silicone spatula | Stir fragrance into wax |
| Wick stickers | Attach wicks to the container bottom |
| Chopsticks or wick clips | Keep wicks centered while pouring |
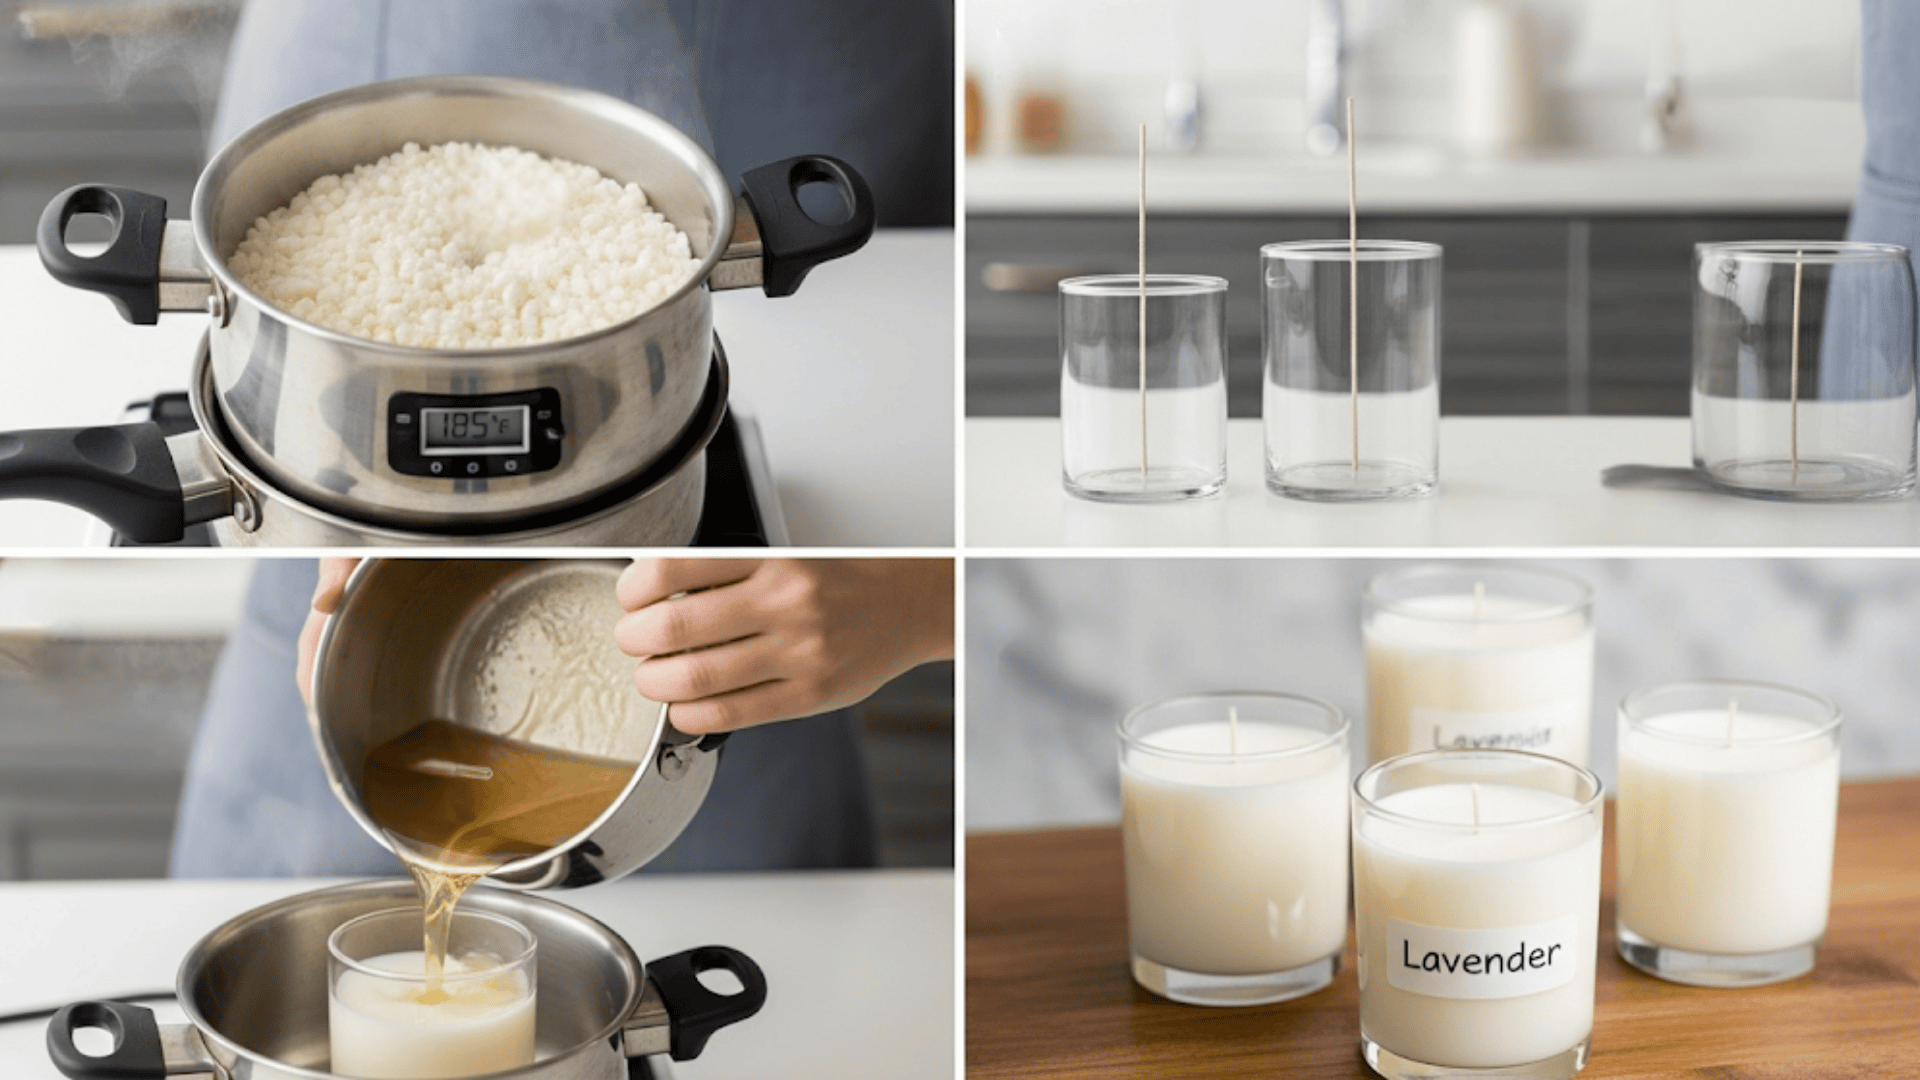
Step 1: Set Up and Melt Wax
Create a double boiler by placing a large pot with simmering water on the stove and setting your pouring pitcher inside.
Weigh out 2 pounds of soy wax flakes and add them to the pitcher. Heat wax slowly to exactly 185°F using your digital thermometer. Break up any clumps during melting for faster, even heating.
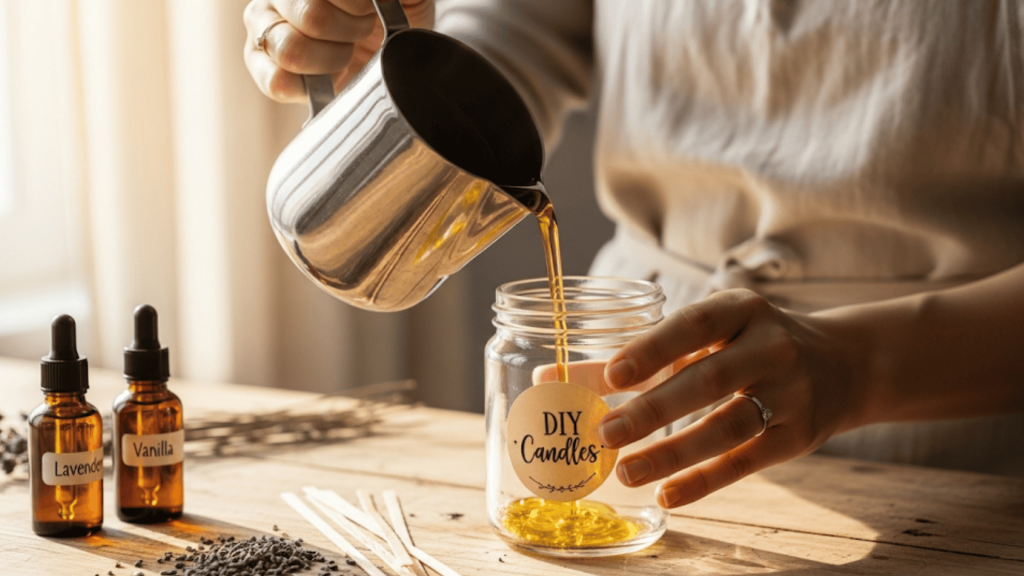
Step 2: Prepare Containers and Add Fragrance
While the wax is melting, clean your containers and attach wicks to the center using wick stickers. Secure cotton wicks upright with chopsticks.
When the wax reaches 185°F, remove it from the heat and add fragrance oil (1 ounce per pound of wax). Stir gently for 1-2 minutes, avoiding the creation of air bubbles.
Step 3: Cool and Pour
Let the wax cool to 135°F; it will appear cloudy when ready. Pour slowly and steadily into containers, leaving a ¼ to ½ inch space at the top.
Ensure all wicks stay centered during pouring. Save a small amount of leftover wax for potential touch-ups.
Step 4: Cool and Cure
Allow candles to cool completely for 24 hours without moving them. Keep in a temperature-controlled room to prevent cooling issues.
After cooling, let candles cure for 3-5 days for optimal scent throw. Trim wicks to ¼ inch before first use.
Video Tutorial
Special thanks to Bramble Berry for providing valuable insights in their video, which I referenced while creating this guide.
How to Pick the Perfect Wick for Your Candle
The wick may seem like a small detail, but it has a big impact on how your candle burns. Let’s explore how to choose the one that works best for your creation.
- What types of wicks work best for soy candles? Cotton core wicks with braided fibers work well for most containers, while wood wicks create crackling sounds and wider melt pools.
- How do I choose the right wick size? Match the wick size to your container’s diameter; larger containers require larger wicks for full melt pools.
- What happens if my wick is too small? Small wicks create tunneling where wax builds up around the edges and won’t burn completely.
- What happens if my wick is too large? Large wicks burn too hot, cause mushrooming, create soot, and may make containers dangerously hot.
- How long should it take to reach a full melt pool? About 1 hour per inch of container diameter for properly sized wicks.
- How do I test different wick sizes? Fill containers halfway and test 2-3 different wick sizes simultaneously while keeping detailed notes.
- How do I keep wicks centered while pouring? Use chopsticks, wick clips, or clothespins to hold cotton wicks upright during the pouring process.
Troubleshooting Your Candles
Sometimes candles don’t turn out perfectly. Here’s how to fix common problems:
| Problem | Cause | Solution |
|---|---|---|
| Sinking center | Poured too hot | Pour at a lower temperature |
| Rough surface | Cooled too quickly | Cover while cooling |
| Poor scent throw | Not enough fragrance | Add more oil next time |
| Tunneling | Wrong wick size | Use a larger wick |
| Cracking | Temperature shock | Cool gradually |
Essential Safety Tips for Candle Making
Before you dive deeper into candle making, it’s important to keep these simple safety rules in mind to ensure a smooth and worry-free experience.
- Never leave melting wax unattended. Wax can overheat quickly and become a fire hazard without constant monitoring.
- What temperature should I never exceed? Never heat soy wax above 200°F, as it can cause discoloration, yellowing, or create safety issues.
- Where should I set up my workspace? Work in a well-ventilated area away from pets, children, and flammable materials.
- What should I wear while making candles? Wear protective clothing and closed-toe shoes to prevent burns from hot wax spills.
- What should I keep nearby for emergencies? Keep a fire extinguisher accessible and know how to use it before starting.
- How do I safely handle wax spills? Let wax cool and harden before cleaning – never use water on hot wax fires.
- What containers should I avoid for safety? Never use plastic, wood, or any container that might melt, crack, or tip over easily.
Wrapping It Up
DIY candle making at home is a rewarding hobby that saves money and lets you create personalized gifts.
Start with simple soy wax candles and basic containers. Focus on getting the temperature and timing right.
Remember that practice makes perfect. Your first candles might not be perfect, but they’ll still smell great and light up your space.
As you gain confidence, experiment with different scents, colors, and container styles. The best part? You’ll never run out of candles again, and your friends will love receiving your handmade creations.
What’s your favorite candle scent, and are you excited to try making it at home? Share your thoughts or questions in the comments below!