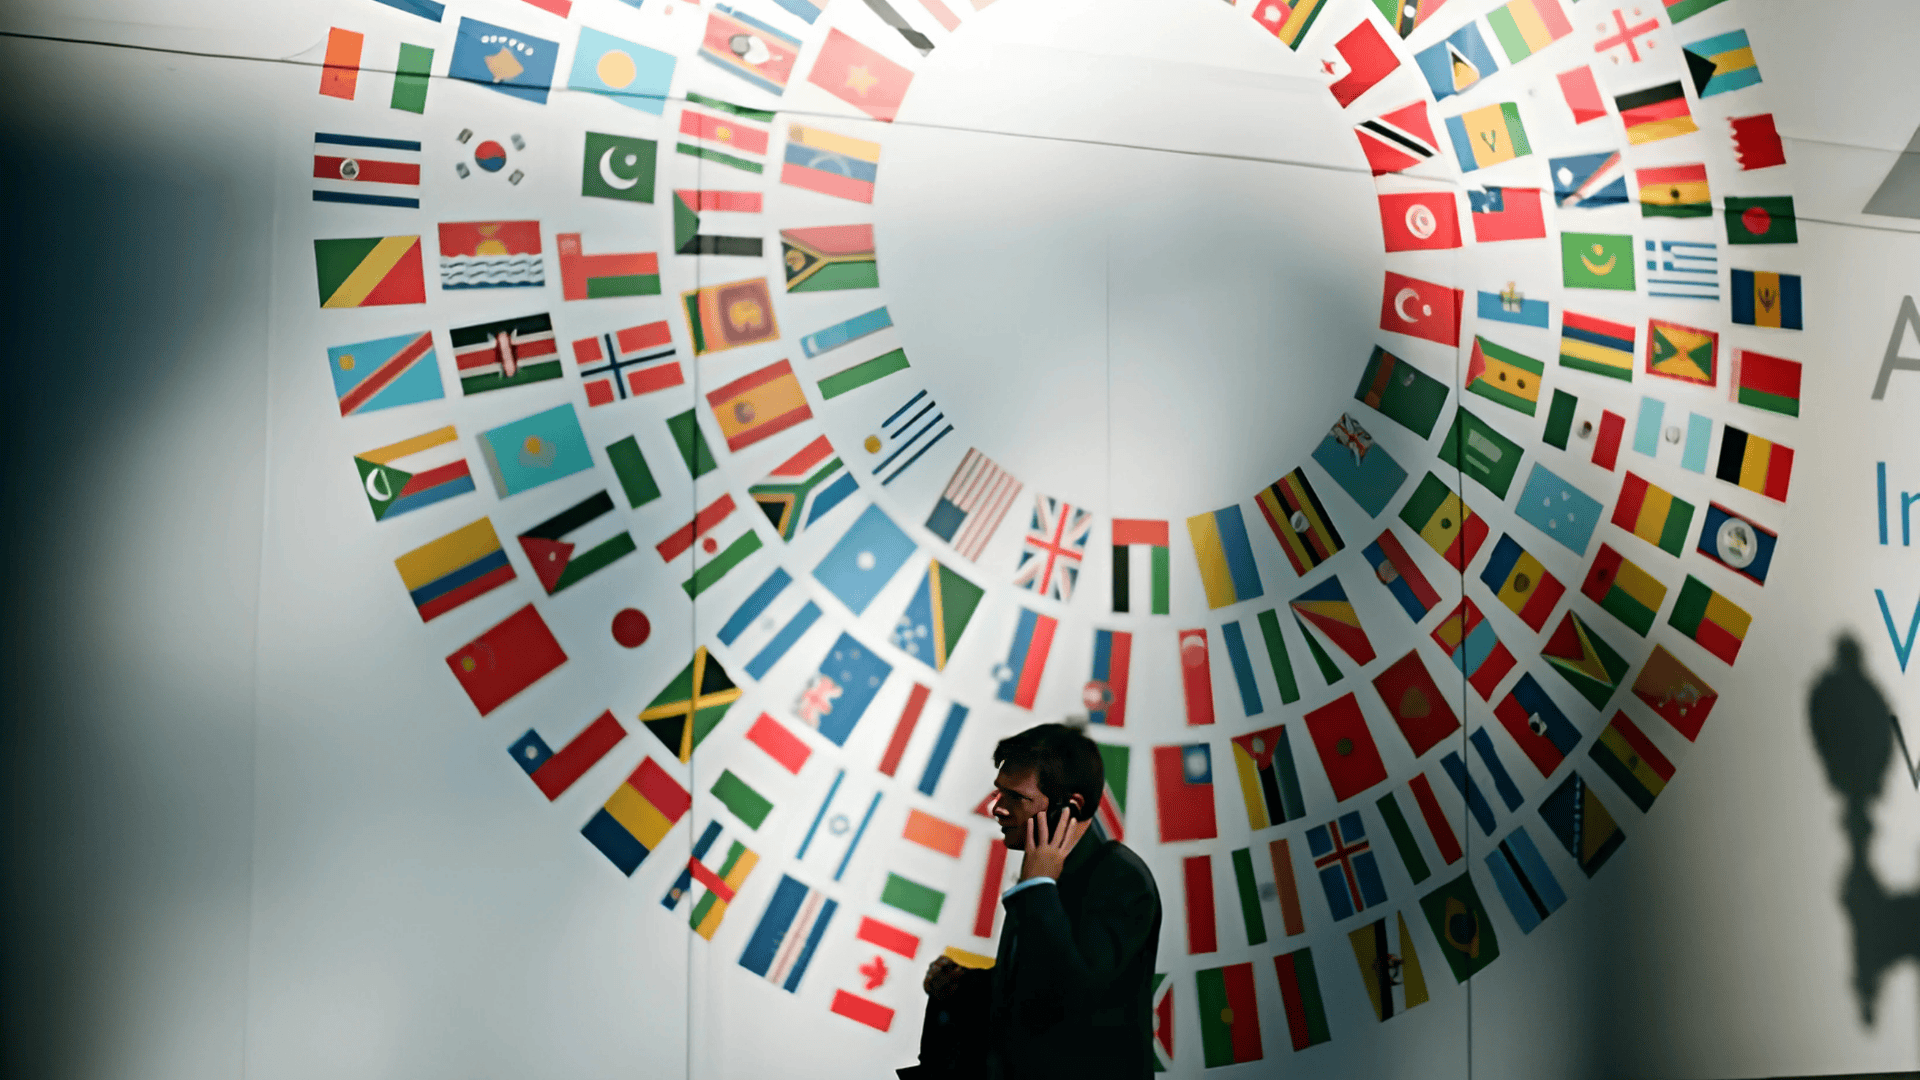
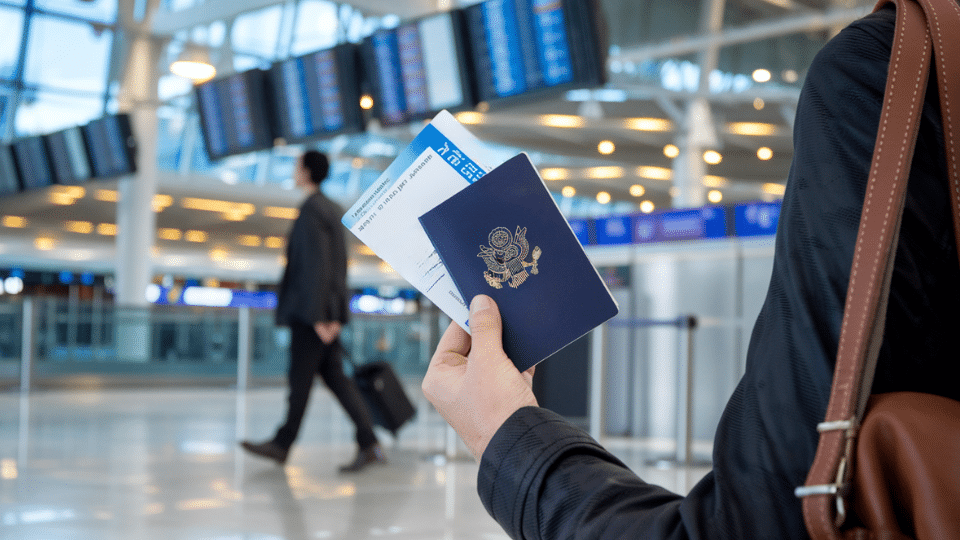
Planning to travel abroad but feeling lost about visa requirements? You’re not alone.
Millions of people face the same confusion every year. The visa application process may seem complex, but it doesn’t have to be intimidating.
Getting a visa might feel overwhelming at first. However, with the right information and preparation, you can handle it with confidence. Let’s get started.
Let’s break it down together.
What is a Visa and Why Do You Need One?
A visa is an official document that allows you to enter and stay in a foreign country for a specific time. It’s printed on a special sticker or stamp that goes inside your passport.
Think of it as a permission slip from another government. The visa tells border control that you’ve been checked and approved to visit their country. Without it, border officials won’t let you in; they’ll send you back on the next available flight home.
Every visa contains important information.
This includes your name and passport details, the duration of your stay in the country, the expiration date of your visa and the required renewal date, the activities you’re permitted to engage in during your visit, and the number of times you are allowed to enter and exit the country.
How to Apply for a Visa: 8 Simple Steps
Now that you understand what a visa is, let’s walk through the complete application process. Follow these steps carefully to increase your chances of approval.
Step 1: Choose the Right Visa Type
Start with your travel purpose. This determines which visa type you need. Not all visas are the same. Each type serves a distinct purpose and comes with its own specific rules. Common Visa Types:
| Visa Type | Purpose | Validity | Work Allowed |
|---|---|---|---|
| Tourist | Vacation, sightseeing | 30-90 days | No |
| Business | Meetings, conferences | Short-term | No |
| Work | Employment | Long-term | Yes |
| Student | Education | Course duration | Part-time only |
| Transit | Airport connections | Very short | No |
Pro Tip: Check the official government website of your destination. Each country has its own unique visa categories and rules.
Step 2: Gather Required Documents
Most visa applications need similar basic documents. Get these ready first to avoid delays or rejections.
Document preparation is the most time-consuming part of visa applications. Missing or incorrect documents are the top reasons for visa denials. Begin collecting these papers at least 2-3 weeks prior to applying.
Required Documents:
- Valid passport: Must be valid for at least six months beyond your travel dates.
- Recent passport photos: Professional photos meeting embassy specifications.
- Completed application form: Official form filled accurately with no blanks.
- Proof of funds: Recent bank statements showing sufficient travel money.
- Travel itinerary: Confirmed flight reservations with dates.
- Accommodation proof: Hotel bookings or host invitation letters.
- Work/student documents: Job contract or school acceptance letter, if applicable.
- Sponsor letter: Required for family visits or if someone else pays your expenses.
Pro Tip: Make photocopies of everything. Keep originals safe.
Step 3: Fill Out the Application Form
Accuracy is everything here. One small mistake can cause rejection.
Most embassies require black ink for paper applications. Never use pencils, colored pens, or erasable ink. Write clearly in block letters to ensure your handwriting is readable.
Spell names exactly as they appear in your passport and use correct date formats as required by the embassy. Please fill in every required field, as leaving blanks can result in automatic rejection.
Online forms check for errors automatically and highlight missing information, making them easier and safer to use. Paper forms require perfect handwriting and cannot be easily corrected once submitted.
Save online progress frequently to avoid losing work and print confirmation pages immediately after submission.
Pro Tip: Have someone else review your form before submitting. Fresh eyes catch mistakes you might miss.
Step 4: Pay the Visa Application Fees
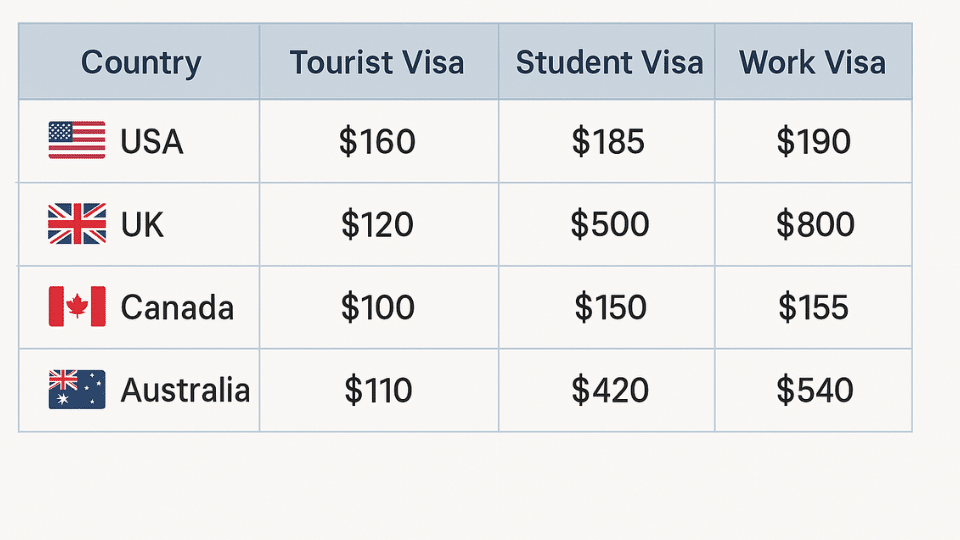
Visa fees vary by country and visa type. Payment methods also differ based on where you apply.
1. Typical Fee Ranges: Tourist visas cost $50-$200, business visas $100-$300, work visas $200-$500, and student visas $150-$400. These fees reflect the complexity of processing and background checks required for each visa category. Always check the official embassy website for the exact amounts, as fees are subject to change periodically.
2. Payment Methods: Use online credit/debit cards, bank drafts, money orders, cash at visa centers, or electronic transfers. Most countries now prefer online payments as they’re faster and provide instant confirmation. Select the method that best suits your location and application type.
3. Important Rules: Fees are non-refundable even if your application gets rejected, so double-check everything before paying. Pay exact amounts and keep all receipts for your records as proof of payment. Check if service charges apply and ensure payment is made in the correct currency specified by the embassy.
Step 5: Submit Your Application
You have two main options: online submission or in-person visits. Online submission allows you to upload scanned documents, pay fees electronically, receive confirmation immediately, and track your status online.
In-person submission requires visiting the embassy or consulate, presenting original documents, paying fees on-site, and obtaining a receipt immediately.
Many countries also use third-party visa application centers that accept applications on behalf of embassies, offer extended hours, provide courier services, and charge additional service fees.
When booking appointments, make them in advance, arrive 15 minutes early, bring all required documents, and have backup payment methods ready.
Step 6: Wait for Processing
Visa processing times vary greatly. Plan ahead to avoid disappointment. Some visas take just a few days, while others require several months. Typical Processing Timeline:
| Visa Type | Processing Time |
|---|---|
| Tourist | 3-15 business days |
| Business | 5-20 business days |
| Work | 15-60 business days |
| Student | 15-45 business days |
| Family | 30-90 business days |
Processing speed depends on several factors. Peak seasons, such as summer and holidays, mean embassies handle more applications and take longer.
Your nationality affects security screening requirements, and policies in your destination country change based on diplomatic relations.
Application completeness is also important, as missing documents can cause delays, and background check requirements vary by visa type and applicant history.
Pro Tip: Track your application online regularly, but avoid making firm travel plans or contacting the embassy daily. Use this waiting time to prepare for possible interviews if required.
Step 7: Attend an Interview (if required)
Some visas require face-to-face interviews. Don’t panic. Preparation helps.
Dress professionally, as first impressions matter greatly to visa officers. Arrive at least 15 minutes early to avoid stress and show respect for the process.
Bring all original documents in an organized folder for easy access. Stay calm and honest throughout the interview, as nervous behavior can raise suspicion about your intentions.
Interview Success Tips
Give short, direct answers without volunteering extra information. Maintain eye contact to show confidence and speak clearly so officers understand you. Bring supporting documents that back up your answers and stay consistent with your application.
Step 8: Receive Your Visa
Three possible outcomes await: approval, rejection, or requests for more information.
If your visa is approved, carefully review all visa details, including dates and spelling, verify entry and exit requirements, understand any conditions attached to your visa, and plan your travel within the validity period.
If your application gets rejected, read the rejection reasons carefully to understand what went wrong, fix any identified problems before reapplying, wait the required time period before submitting a new application, and consider appealing the decision if you have valid grounds.
If the embassy requests more information, respond quickly with exactly what they ask for, submit additional documents through the proper official channels, and follow up appropriately without being pushy or impatient.
Important Visa Details to Verify:
- Entry and exit dates
- Number of entries allowed
- Visa type and category
- Spelling of your name
- Passport number accuracy
Increase Your Chances of Approval for a Visa
Smart preparation makes a huge difference. Follow these proven strategies.
1. Apply early and research thoroughly: Start your application at least 4-6 weeks before travel to avoid last-minute stress and give yourself time to gather all required documents correctly.
2. Be completely honest and follow instructions exactly: False information guarantees rejection, so provide truthful answers and follow every step of the application process without skipping any details.
3. Show strong financial proof: Submit recent bank statements with sufficient funds, explain your income sources clearly, and avoid large unexplained deposits that raise red flags.
4. Demonstrate ties to your home country: Provide evidence of a job, family, property ownership, or other commitments that prove you will return home after your visit.
5. Keep everything organized with copies: Use checklists to track documents, make duplicates of everything you submit, and store originals safely for your records.
Conclusion
Applying for a visa doesn’t have to feel overwhelming when you break it down into clear steps.
Begin by selecting the appropriate visa type for your intended purpose. Gather all required documents carefully. Fill out forms with perfect accuracy. Pay fees through accepted methods.
Please submit all required documents properly and wait patiently for processing.
Remember, preparation and honesty are your best tools for visa success. Take time to understand requirements, organize documents properly, and present your case clearly.
Ready to start your visa application? What destination are you planning to visit, and which step feels most challenging to you right now?