
A well-planned rooftop project can save homeowners thousands of dollars and prevent costly errors. Proper preparation helps contractors work more efficiently and finish the job on schedule. A clear plan also makes sure every material, permit, and crew member is in place before work starts.
Homeowners who take time to plan ahead tend to get better results and fewer surprises. This article walks through each essential step to plan a rooftop project, including the cost of metal roof, with confidence.
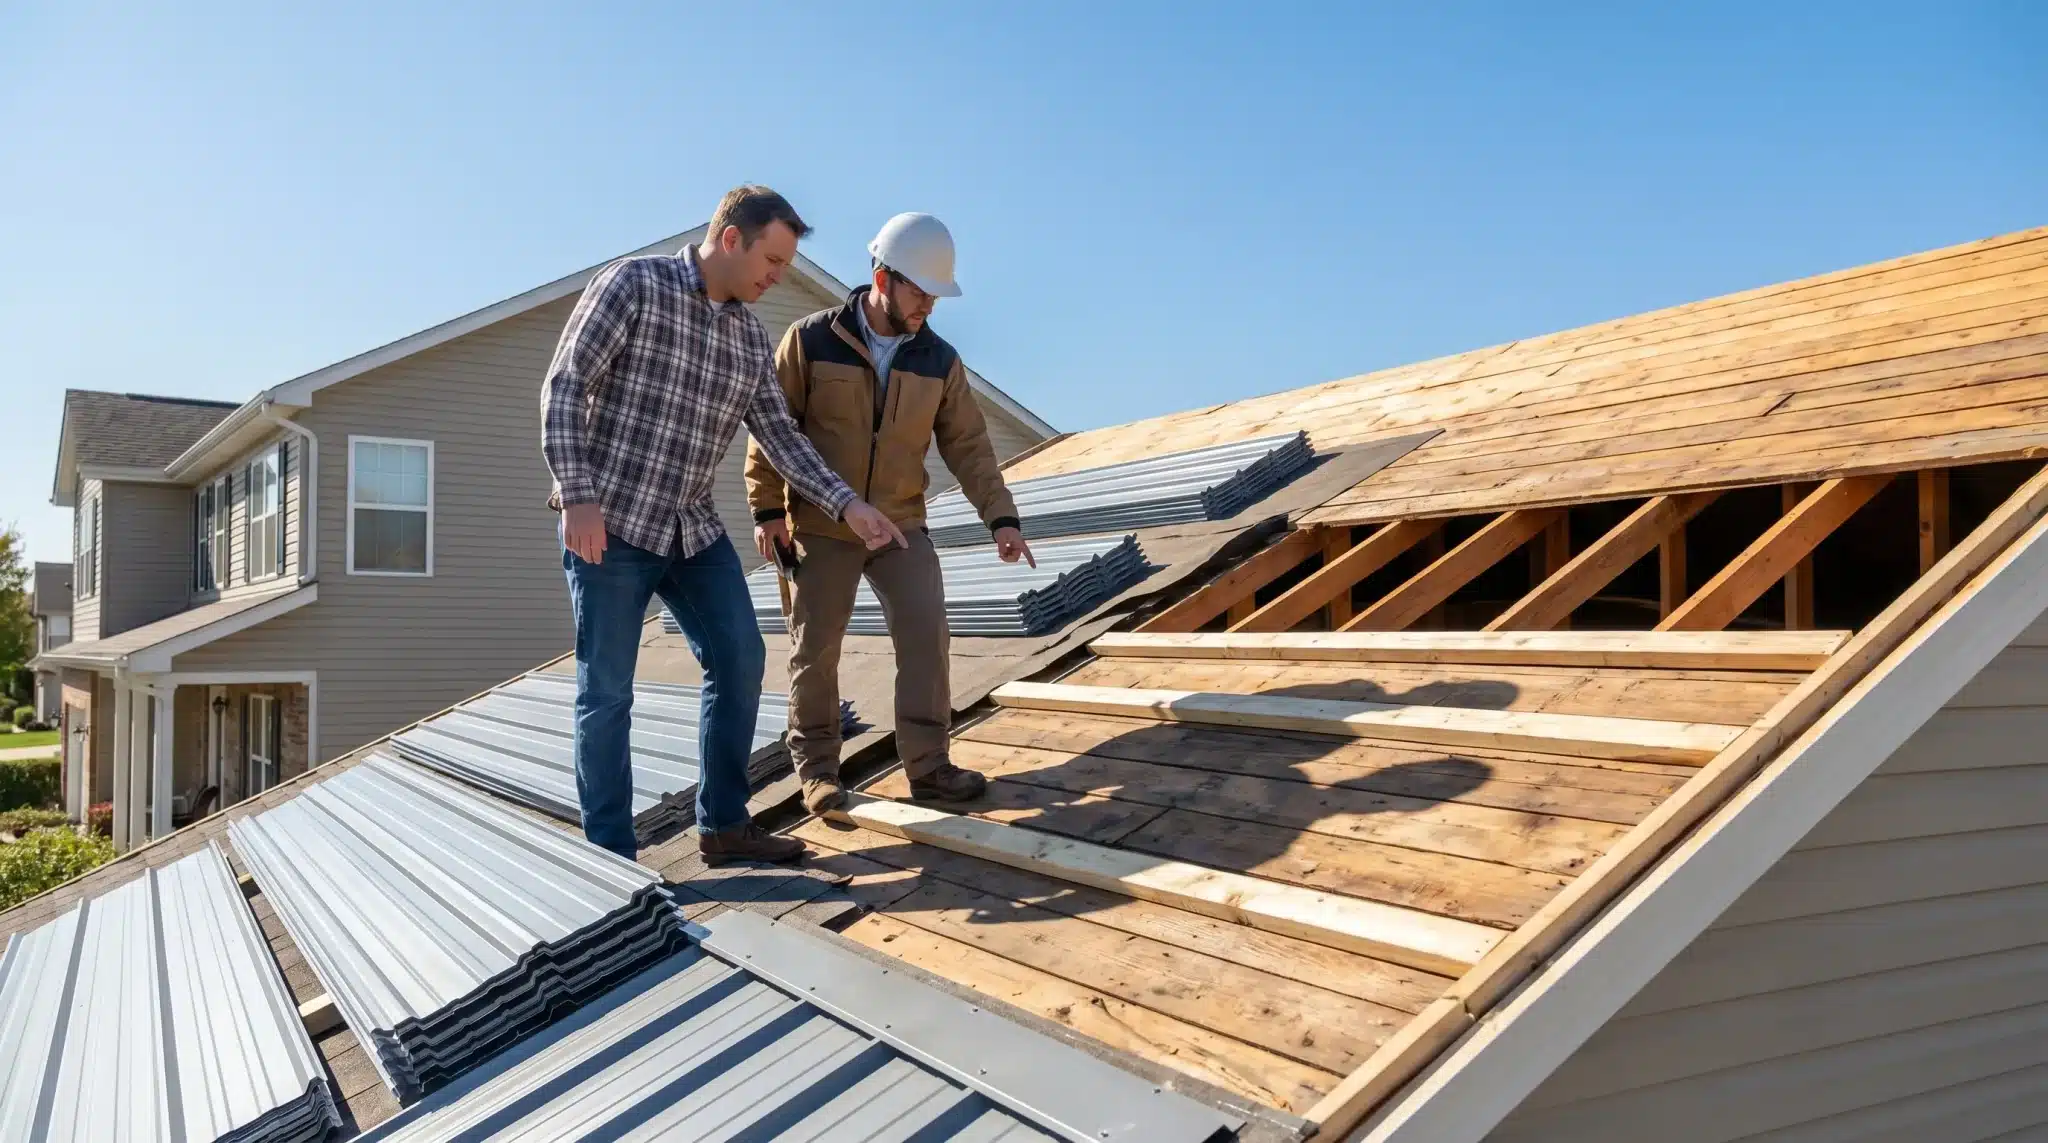
Assess Current Roof Condition
A thorough roof assessment is the first and most critical step before any project moves forward. A professional inspector can spot structural damage, weak decking, moisture buildup, and worn flashing that may not be visible from the ground. Homeowners should also check the attic for signs of water intrusion, dark stains, or compromised insulation.
The inspection report becomes the foundation for all decisions related to materials, labor, and the scope of work. Without a detailed condition report, contractors cannot provide accurate estimates or reliable project timelines. Skipping this step leads to unexpected costs and delays once work has already started.
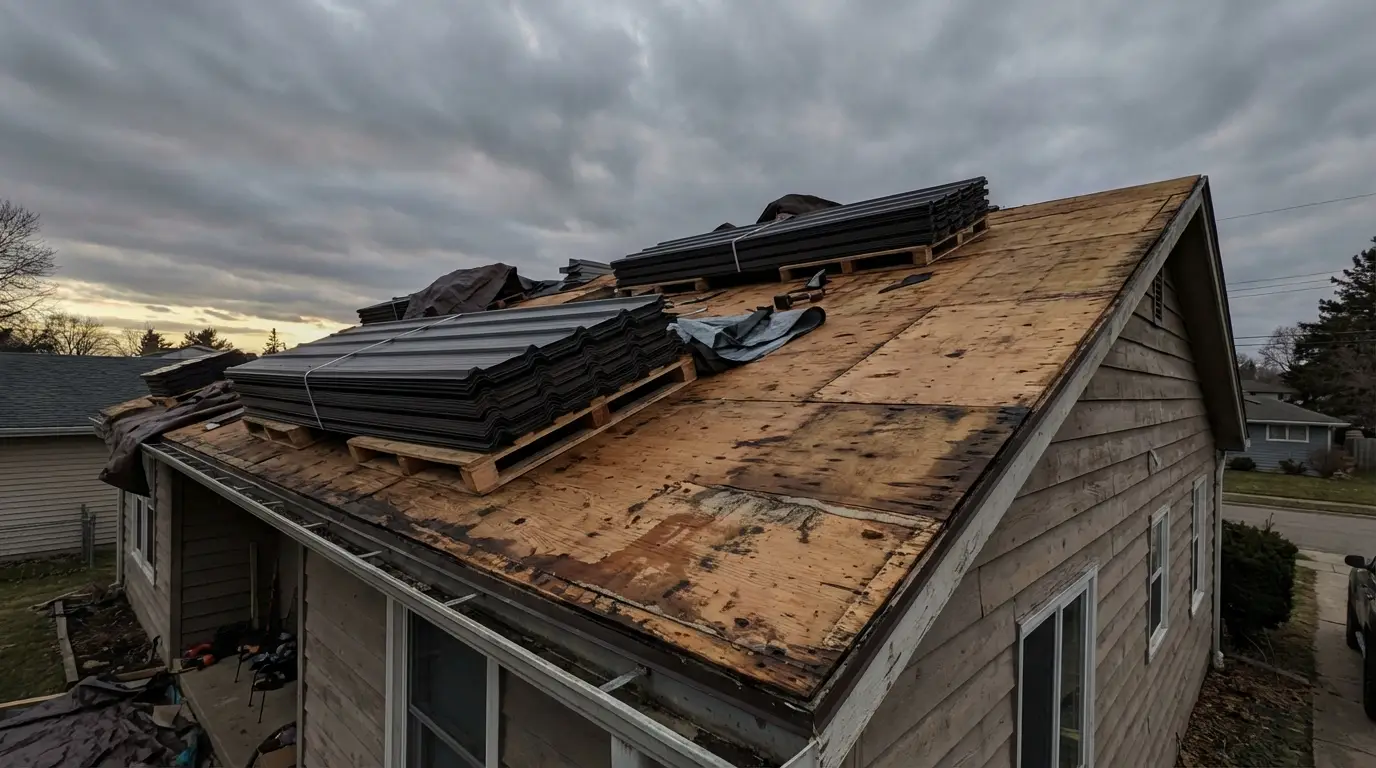
Set Budget and Material Choice
A realistic budget is the backbone of any successful rooftop project, and material selection should align directly with that financial plan. The cost of metal roof options varies based on the panel style, gauge, and finish selected, so homeowners must research each option before committing.
These key points help create a budget framework:
- Homeowners should request at least three detailed estimates to compare labor and material costs side by side.
- A contingency fund of 10 to 15 percent above the base budget helps cover unexpected structural repairs discovered mid-project.
- Metal panel styles such as standing seam and corrugated each carry different price points and longevity profiles.
- Permits and disposal fees must be factored into the total project cost from the start.
- Homeowners should confirm whether the contractor’s estimate includes underlayment, fasteners, and trim pieces.
Plan Project Timeline and Schedule
A realistic timeline keeps the project on track and prevents unnecessary delays. Homeowners and contractors must agree on a start date, estimated completion date, and key milestones before any crew shows up on site. Weather conditions, material lead times, and permit approvals all affect the schedule and must be accounted for in advance.
Contractors should provide a written schedule that identifies which tasks happen each day, so homeowners can plan around the disruption. Local permit offices may take several days or weeks to process applications, so that step must be initiated early. A clear timeline also helps homeowners arrange temporary storage, debris removal, and any needed safety measures around the property.
Final Review and Project Completion
A thorough final review confirms that every element of the project meets the agreed-upon standards before the contractor leaves the site. Homeowners should walk the property with the contractor and use the original contract as a checklist.
These steps below ensure a complete and satisfactory close to the project:
- Homeowners should inspect every seam, fastener, flashing point, and trim piece for proper installation.
- All debris, leftover materials, and equipment must be removed from the property before final payment is made.
- A final inspection from the local permit office confirms that the work meets code requirements.
- Homeowners should receive all warranty documents, permit closure paperwork, and product specifications in writing.
A structured approach transforms a complex rooftop project into a manageable, step-by-step process. Homeowners who prioritize assessment, budgeting, contractor vetting, and schedule coordination consistently see better results. One actionable takeaway: document every decision and agreement in writing. Written records protect all parties and provide a clear reference point if disputes or warranty claims arise later.